Configure Radius 2FA in Ezeelogin Jumpserver
Enable or disable Radius 2FA (Two-factor Authentication) in Ezeelogin.
Overview: This article outlines the process for setting up and managing RADIUS-based Two-Factor Authentication (2FA) in Ezeelogin, including configuration steps via the GUI, and methods for disabling 2FA both from the backend and GUI.
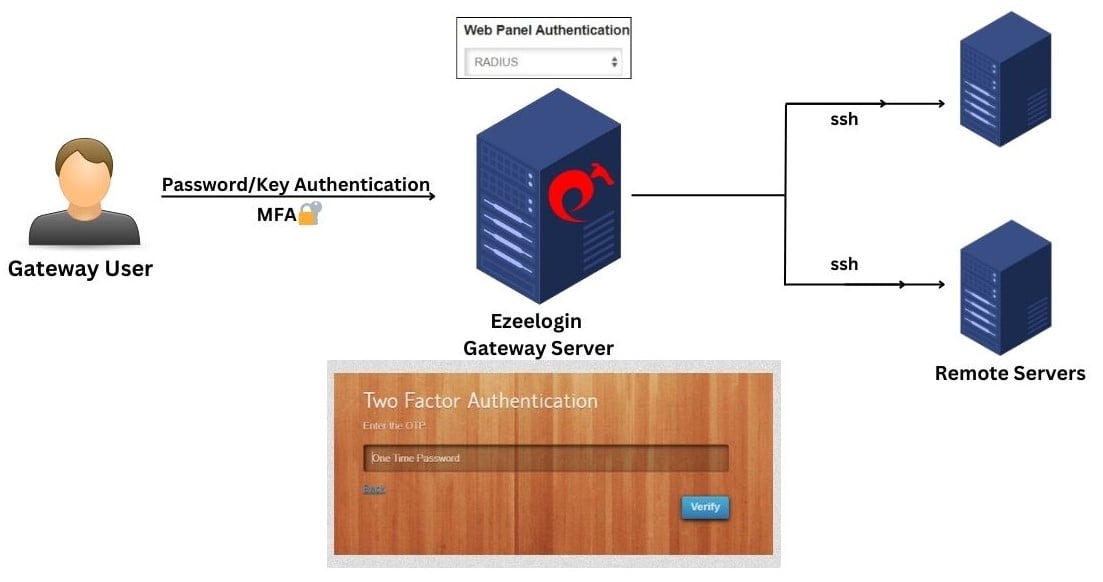
1. Login to Ezeelogin GUI and navigate to Settings -> RADIUS -> RADIUS Settings/Two Factor RADIUS Settings. Provide Radius Host and Shared Secret in the below forms.
2. Navigate to Settings -> General -> Two Factor Authentication -> Enable Radius.

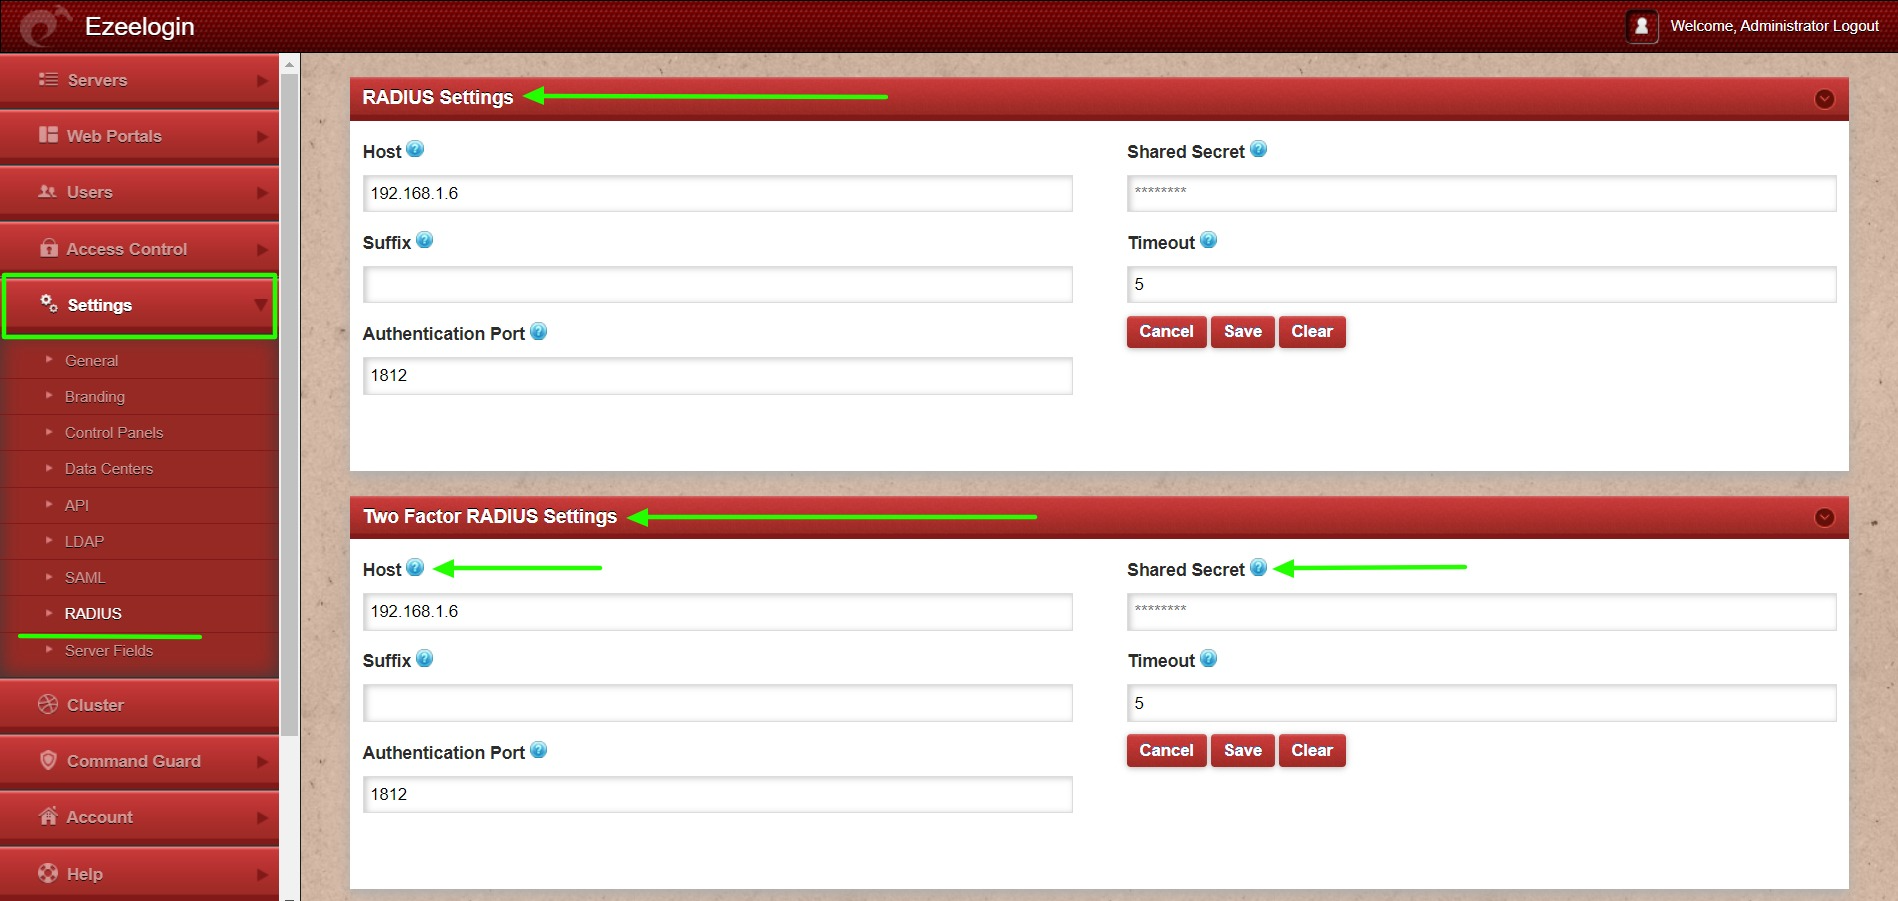
3. Navigate to Settings -> General -> Security -> Enable Auto Create User to create the radius in the Ezeelogin gateway server.
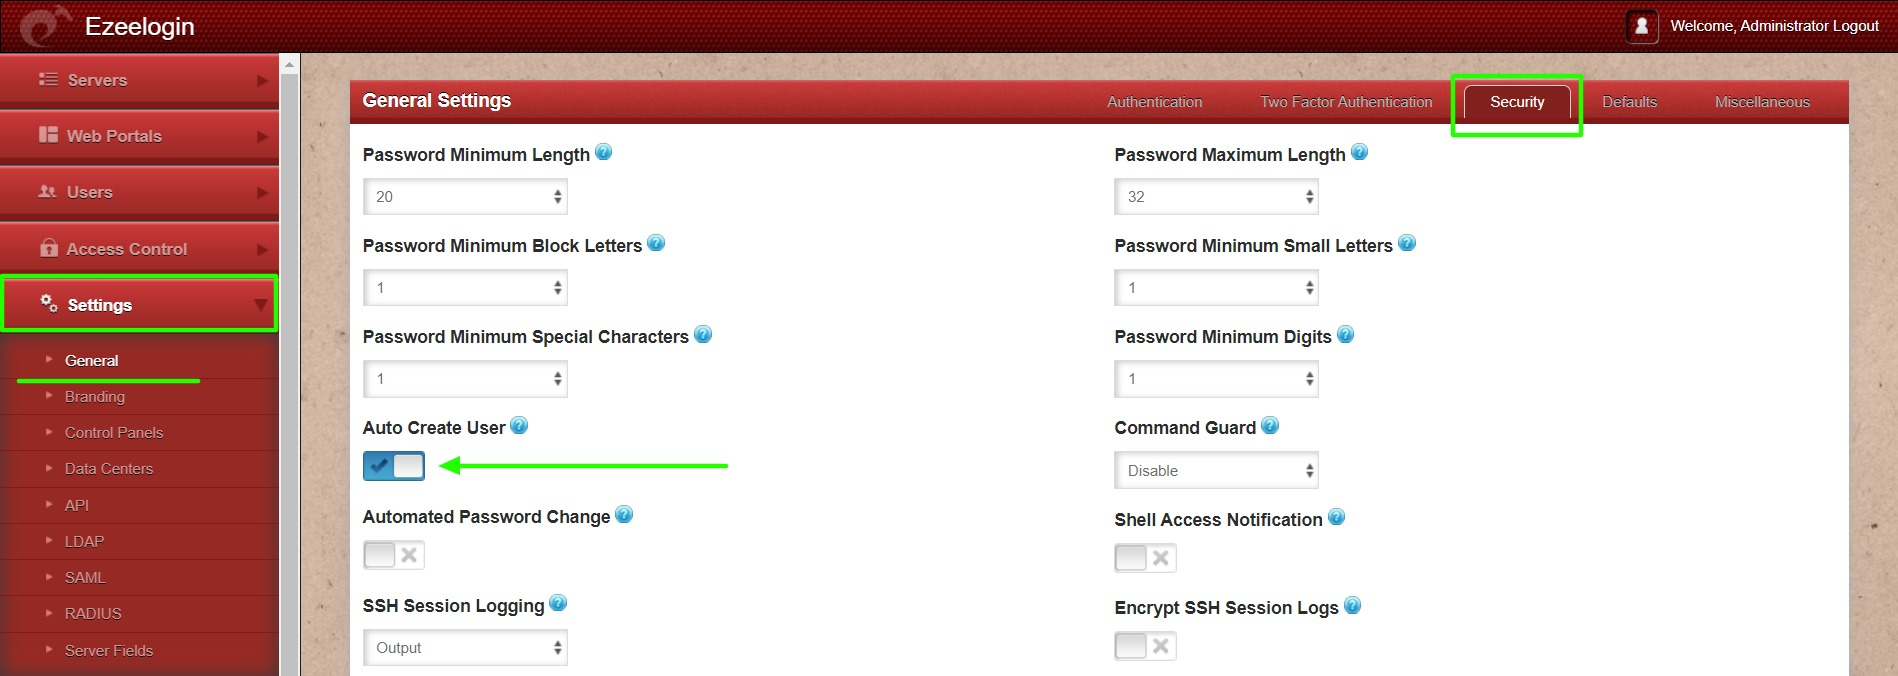
4. Navigate Setting -> General -> Authentication -> Web Panel Authentication -> RADIUS.
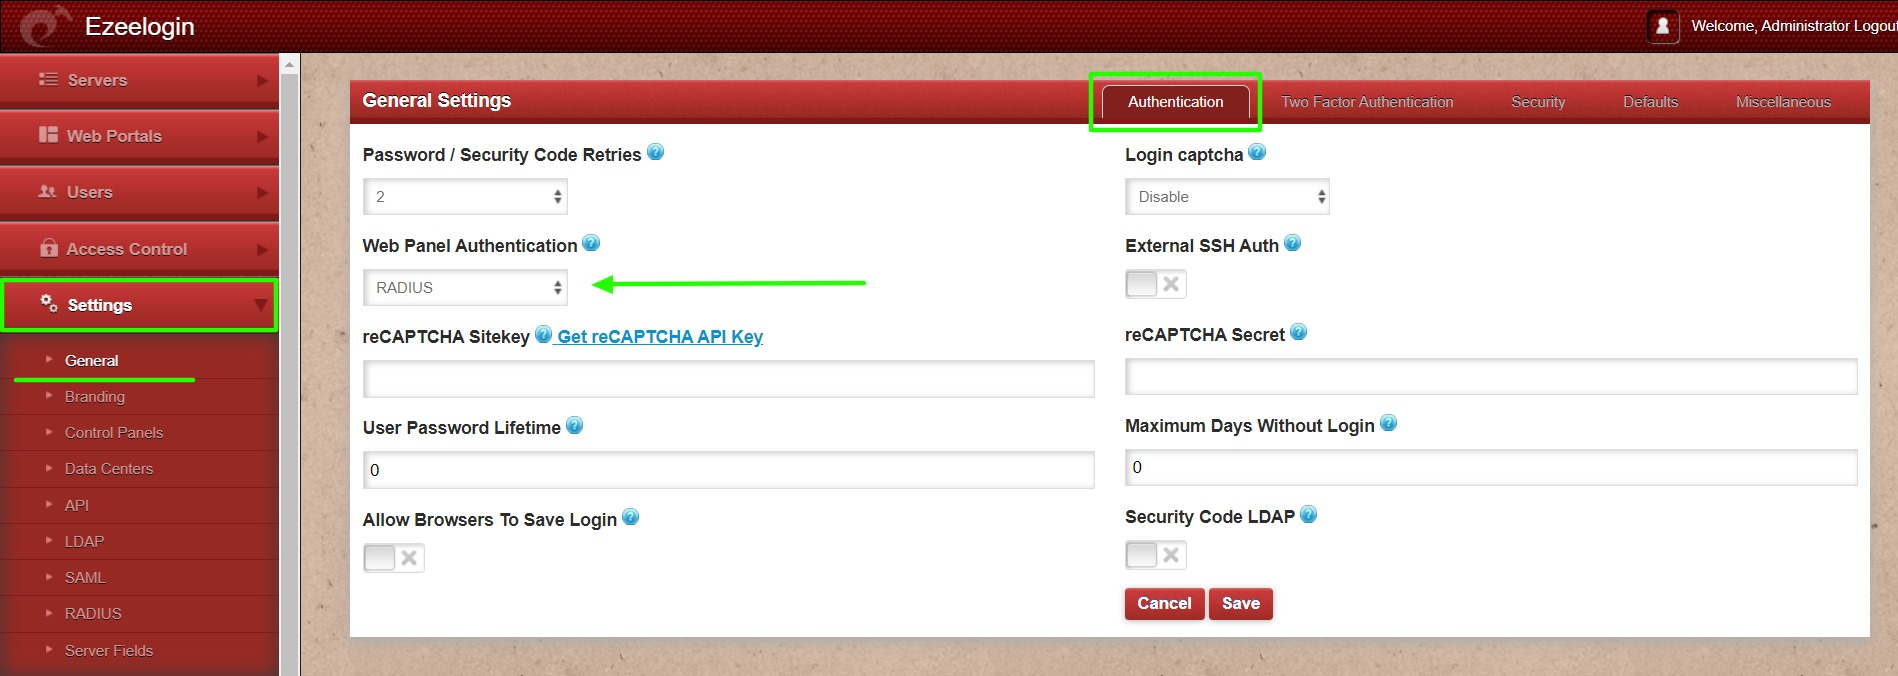
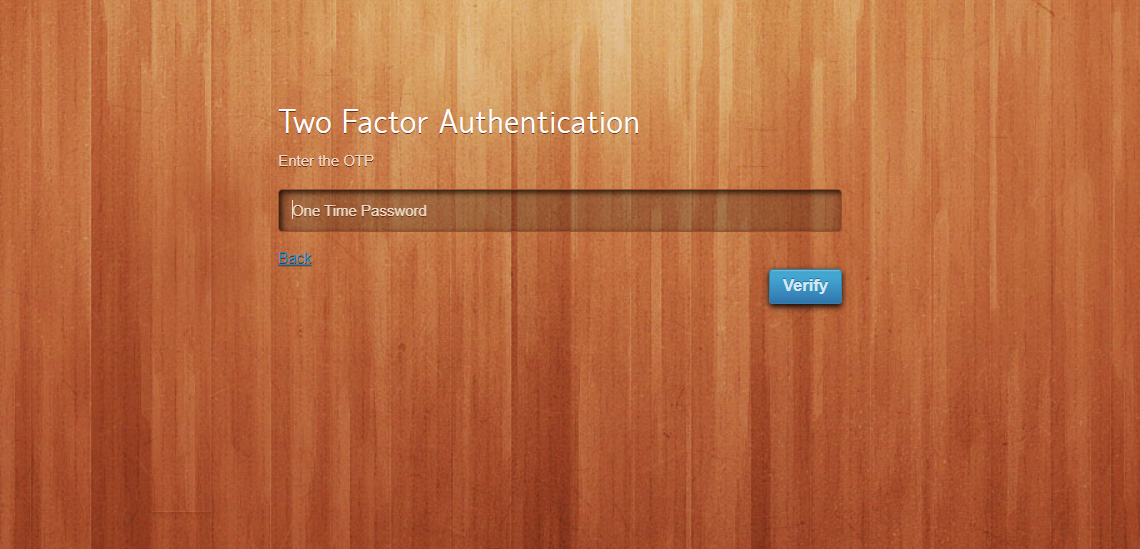
4. Re-login to the Ezeelogin GUI with the username and password, it will prompt for radius password/OTP.
Note: Make sure that the gateway user with the same username exists on the radius server.
How to disable Radius 2FA (Two-factor Authentication) from the GUI.
- You can disable Raduis by navigating to Settings > General > under 2fa > Disable Raduis.

Related Articles:
Enable/Disable two-factor authentication in Ezeelogin