Cloudflare ZTNA for securing SSH access to endpoint devices
Setup Cloudflare ZTNA (Zero Trust Network Access) with Ezeelogin for securing SSH access
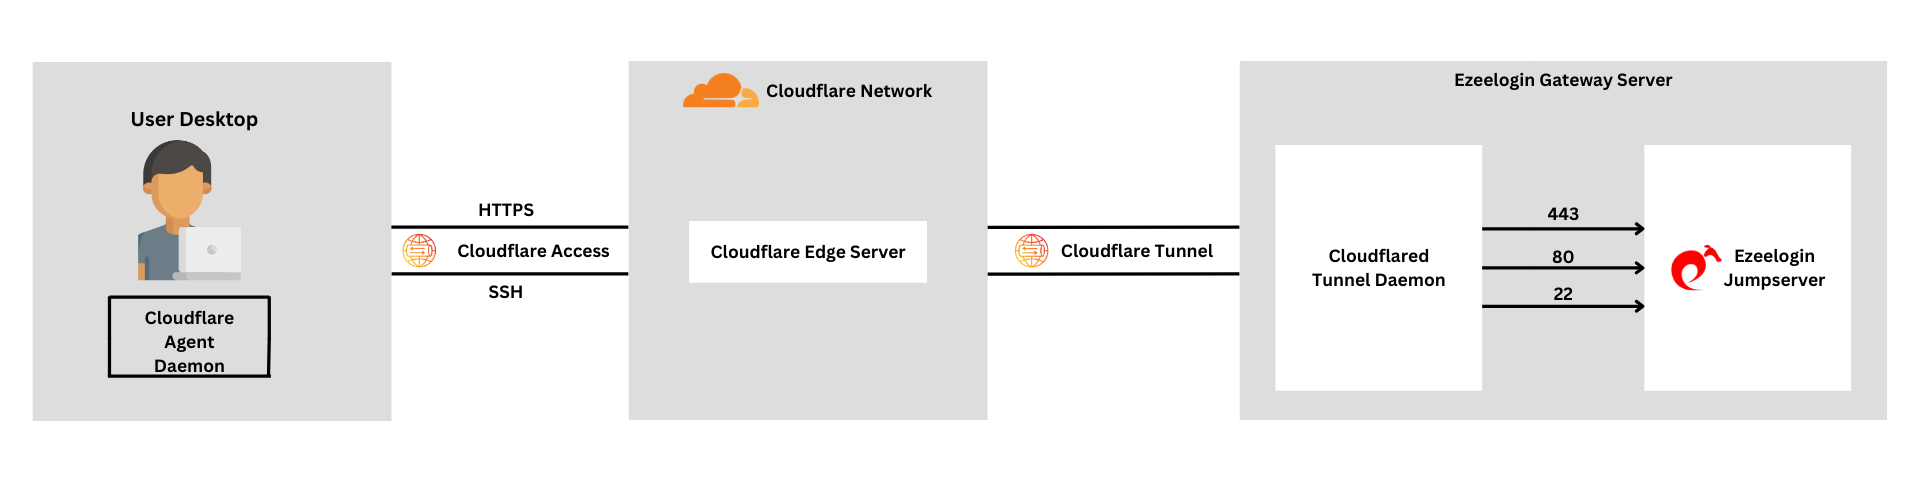
Cloudflare Tunnel can also route applications through a public hostname, allowing users to connect to an SSH server with Cloudflared access. This method requires Cloudflared to be installed on both the server and client machines, as well as an active zone on Cloudflare. The traffic is proxied over this connection.
The benefit of this method is that it provides a secure and reliable way to access Ezeelogin. By routing applications through a public hostname and using Cloudflare Zero Trust Network Access, you can enhance security by hiding your server's true IP address and exposing it through a secure Cloudflare Tunnel. This approach simplifies access, allowing users to connect to Ezeelogin from anywhere without the need for a VPN. Additionally, it improves reliability by leveraging Cloudflare's robust network, ensuring consistent and dependable access to your server. Centralized management of access and configurations is made easy through Cloudflare's dashboard, and the attack surface is reduced by minimizing the risk of direct attacks on your server using Cloudflare's security features.
1. Connect the server to Cloudflare
-
Login to Cloudflare dashboard. click on Zero Trust > Network > Tunnels
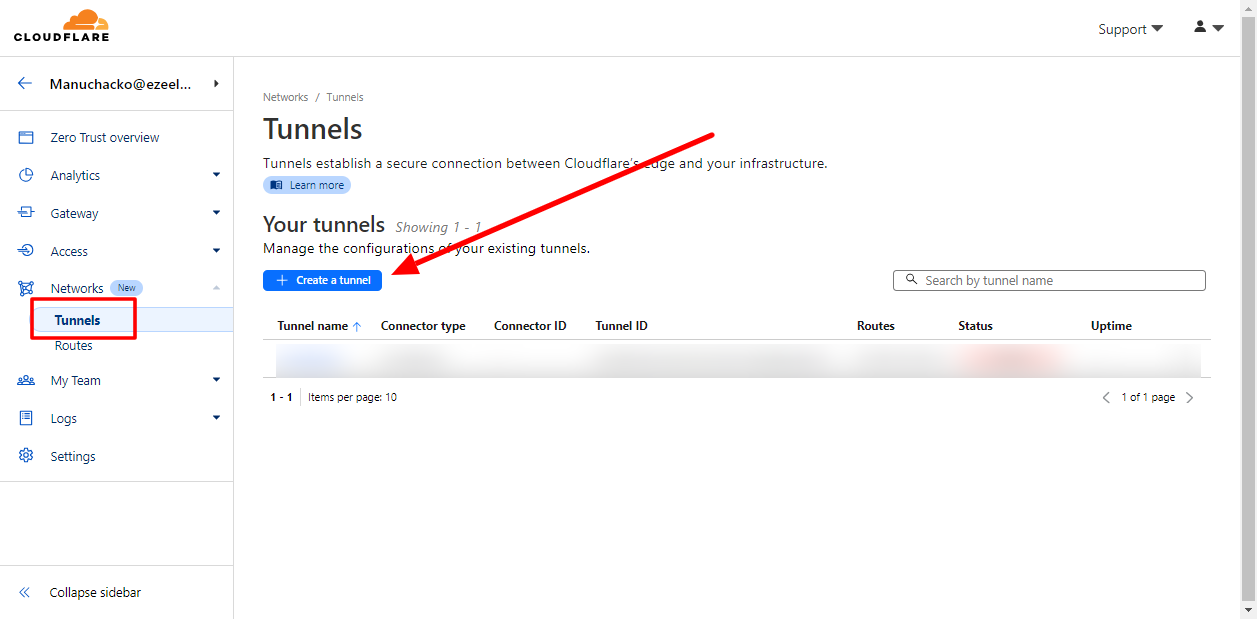
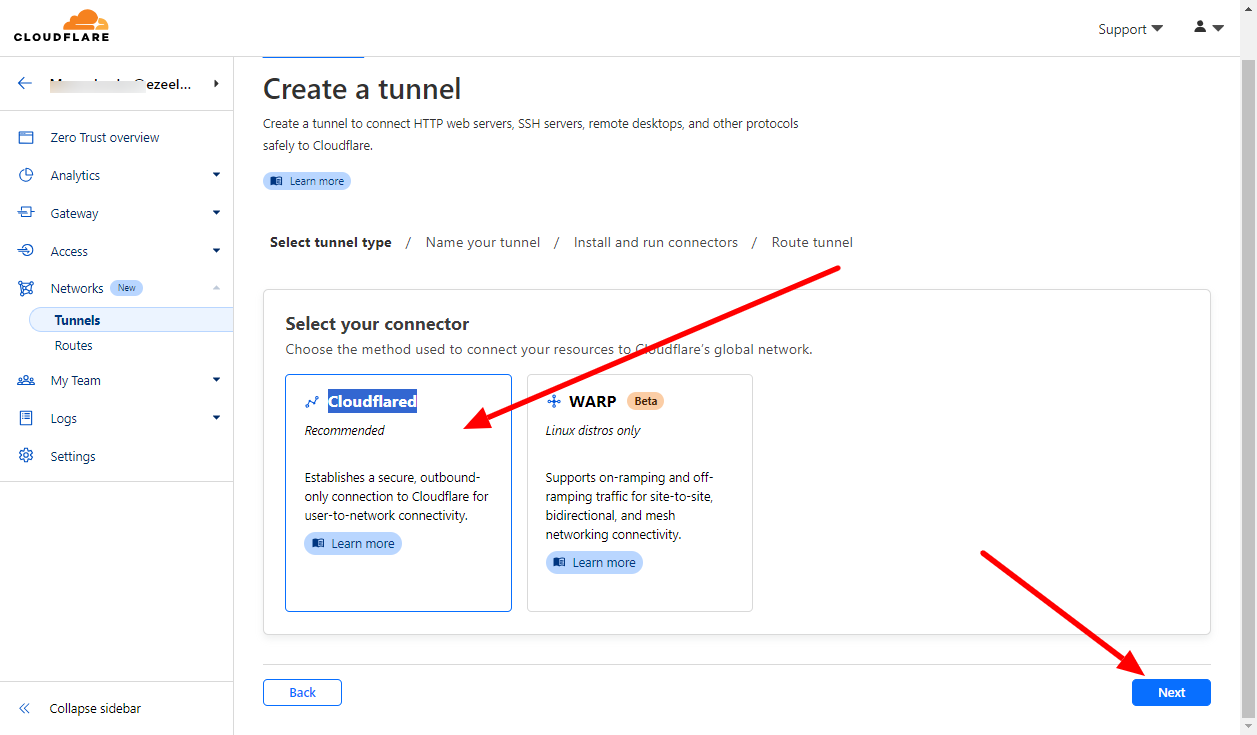
- Click and Create tunnel and select Cloudflared connector, then click next
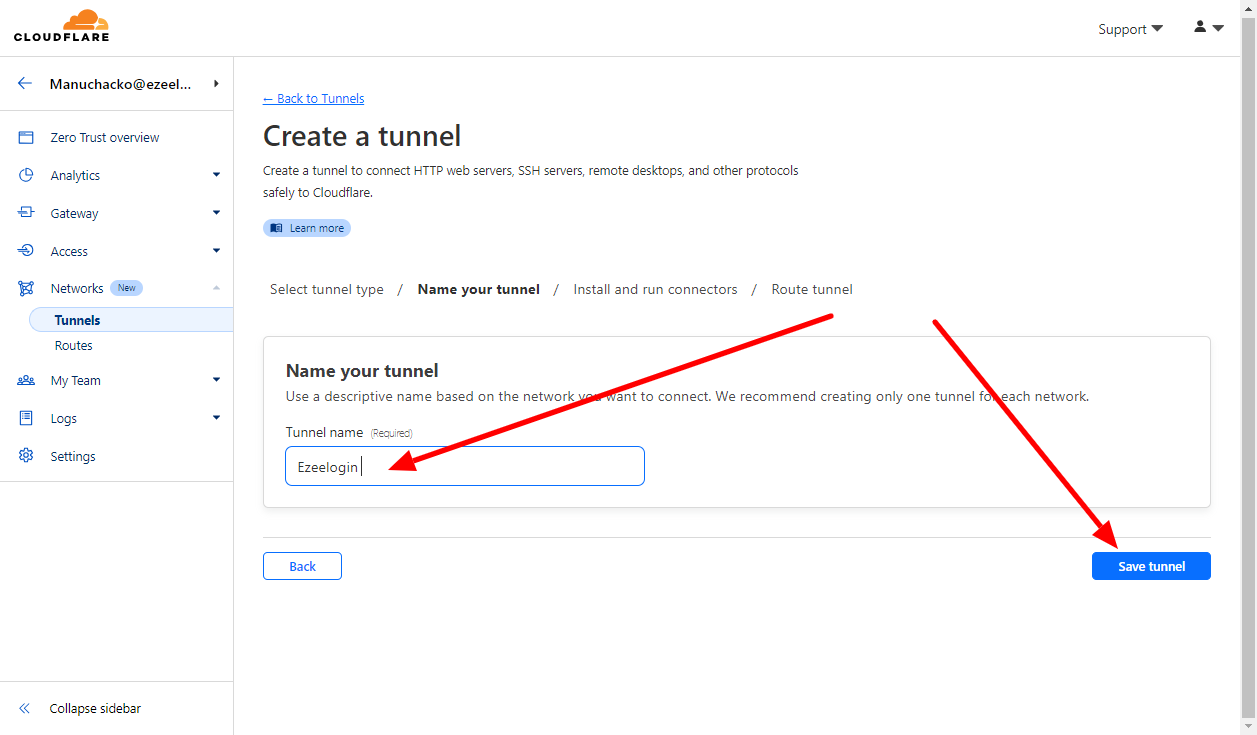
3. Name your tunnel and save tunnel
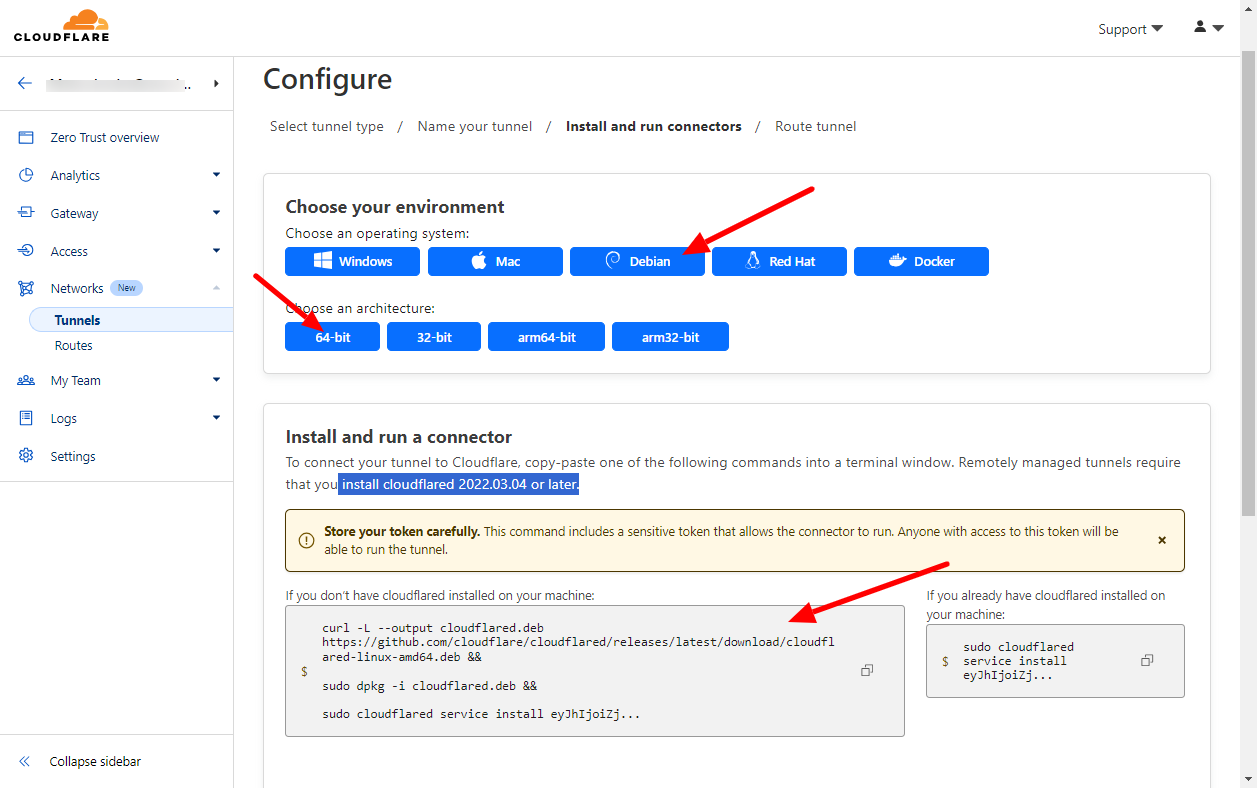
4. Now you can install Cloudflared on your Ezeelogin server. Select the operating system of your server and copy the corresponding installation command as follows:
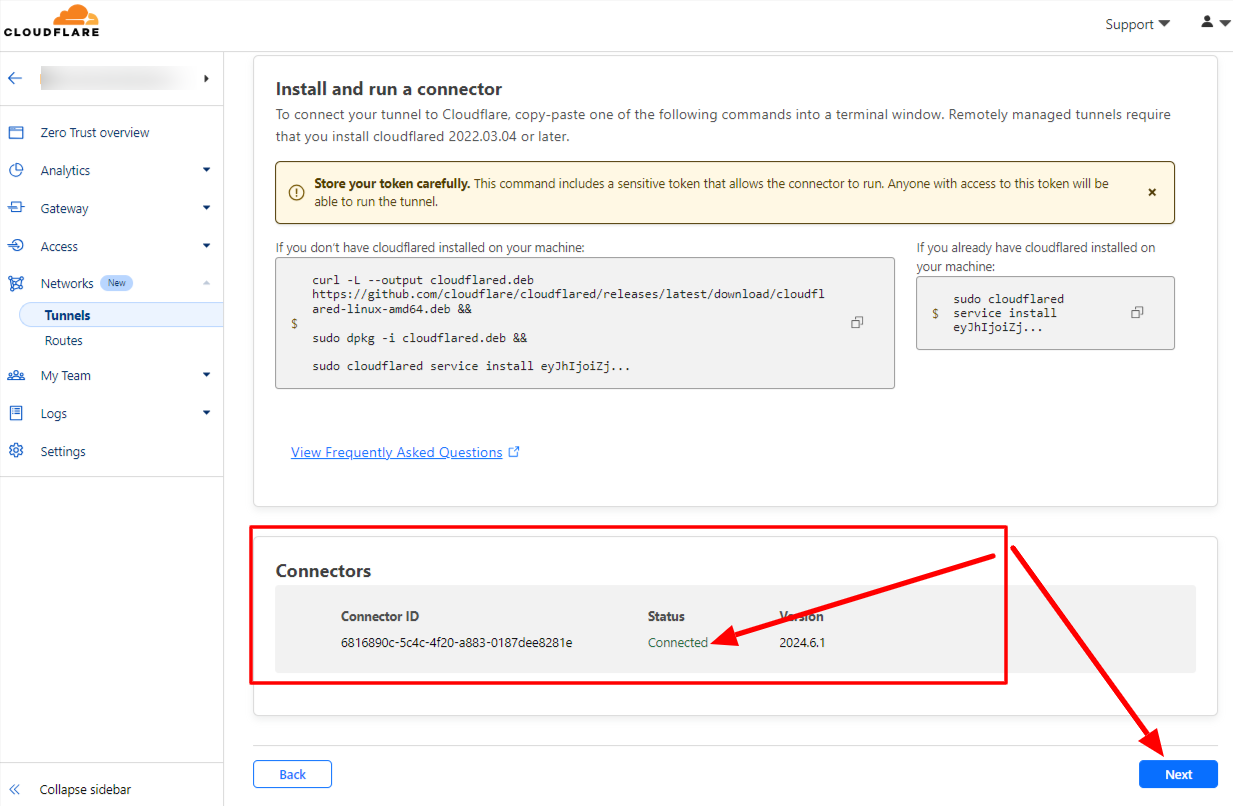
5. After installation you can view the status as connected in the dashboard and click next
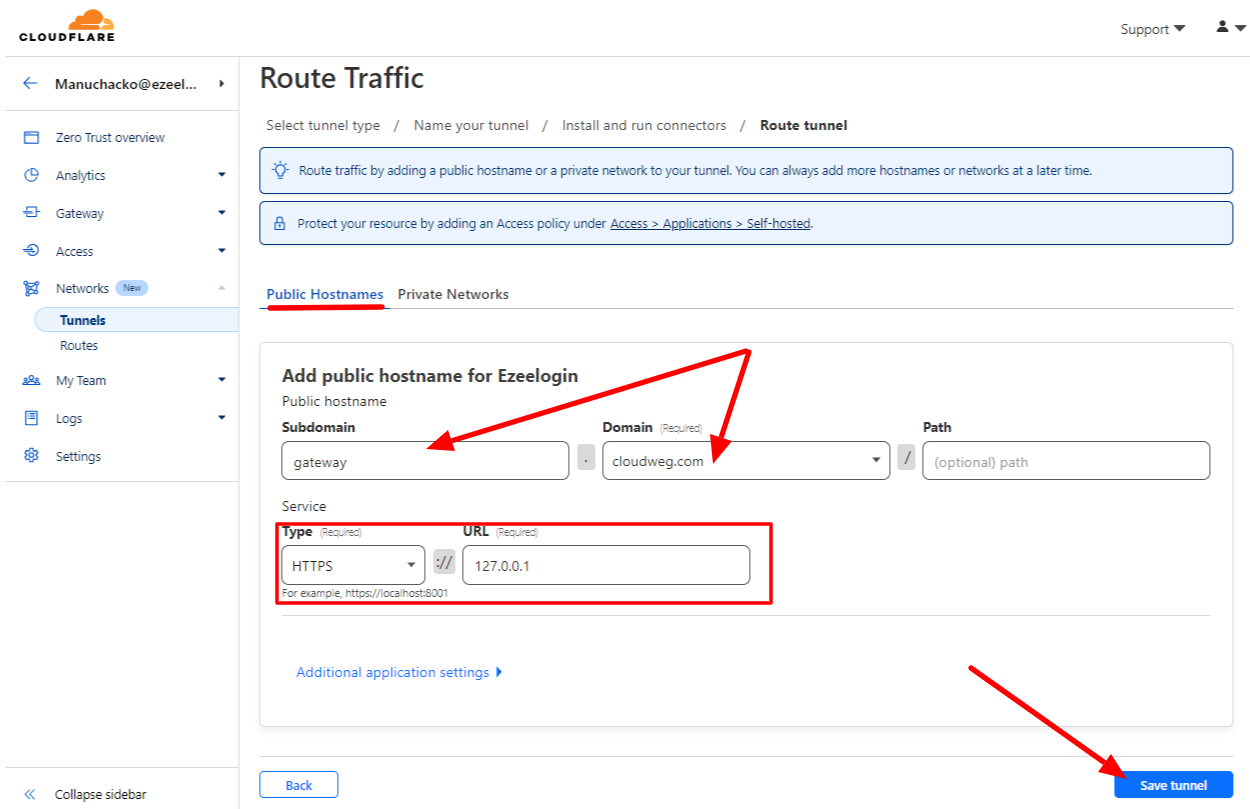
6. Choose a Domain and specify any subdomain(eg: gateway). Select HTTPS/HTTP and enter the URL 127.0.0.1 or localhost
You can select any domain that is already added in Cloudflare.
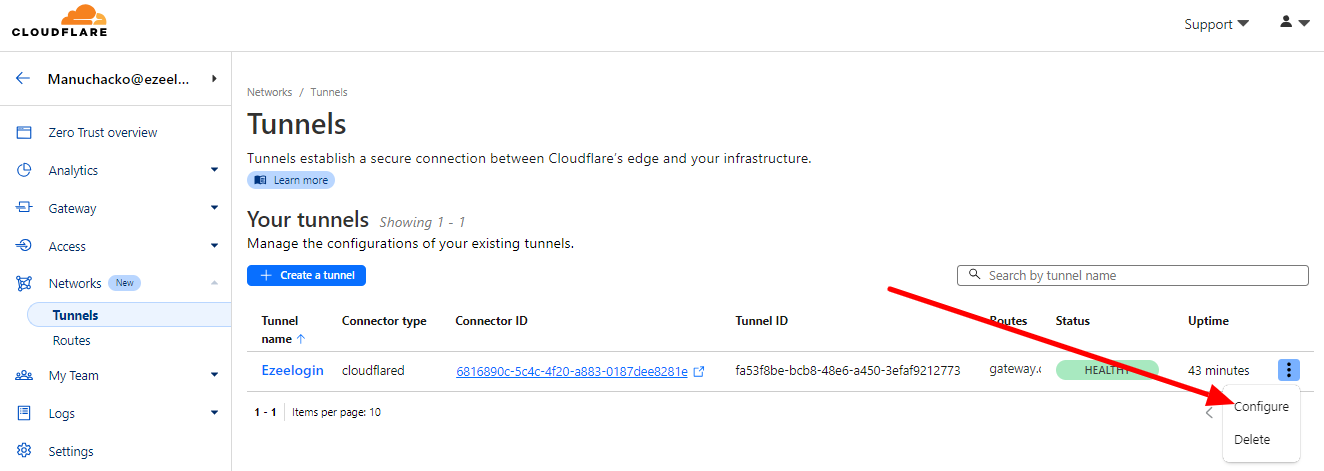
You can view the tunnel in the Tunnels dashboard after saving it.

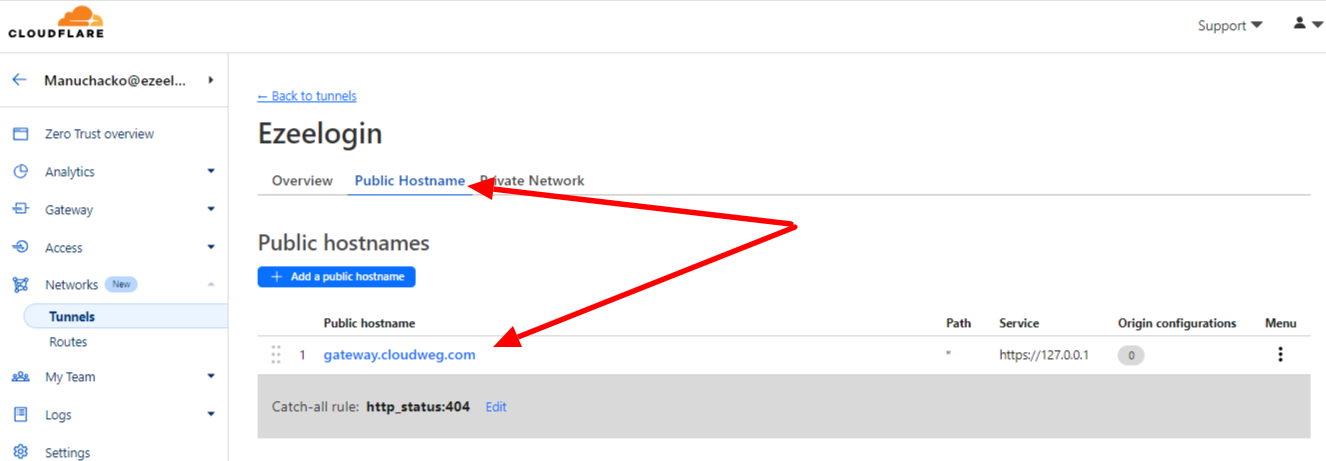
You can view the subdomain created from the dashboard > configure >public hostname
7. Append below lines in /usr/local/etc/ezlogin/ez.conf
If you have enabled HTTPS you should add host_url https://your_domain_name
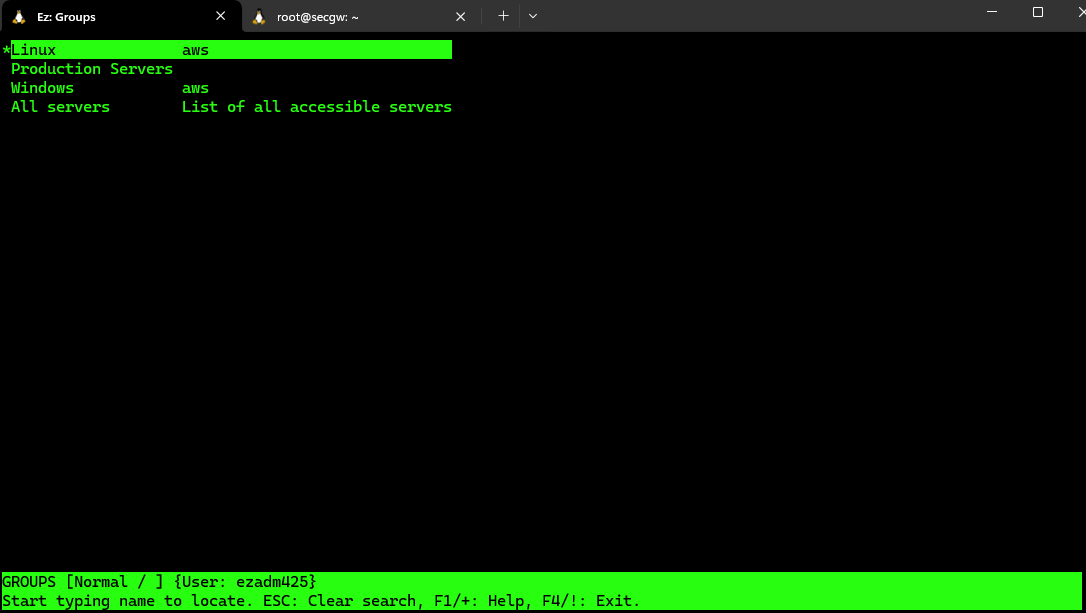
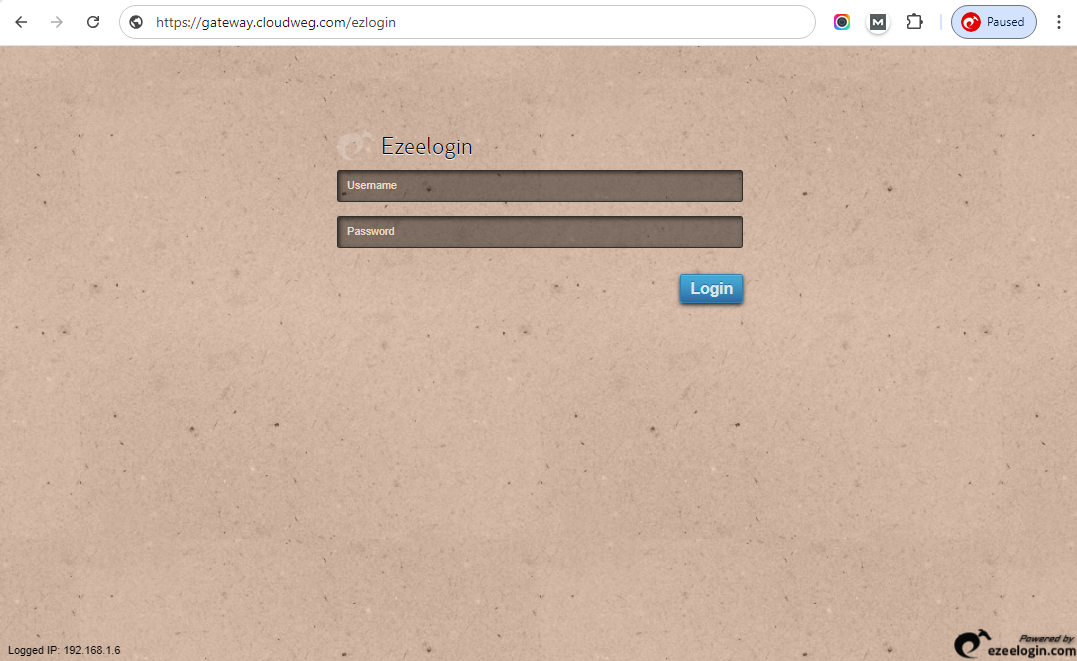
Now you can access Ezeelogin GUI via Cloudflare Zero Trust Network Access
Access Ezeelogin GUI with the subdomain created https://gateway.cloudflare.com
Accessing Ezeelogin Shell via Cloudflare Zero Trust Network Access
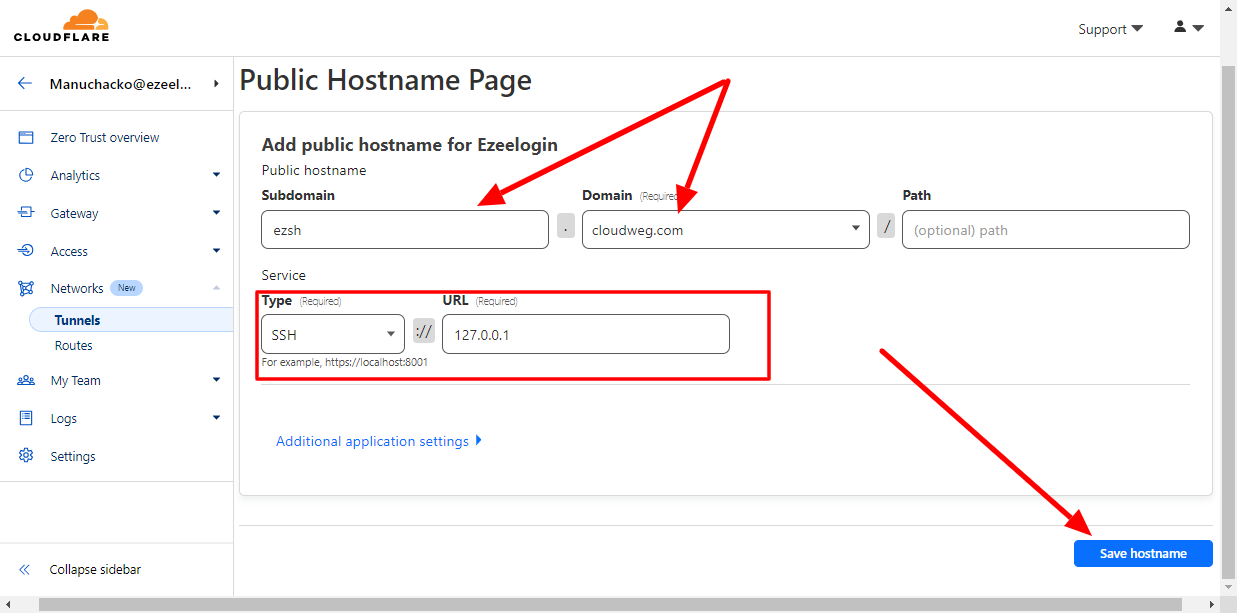
1. Add a Public Hostnames from dashboard > configure > public hostname > Add a Public Hostnames
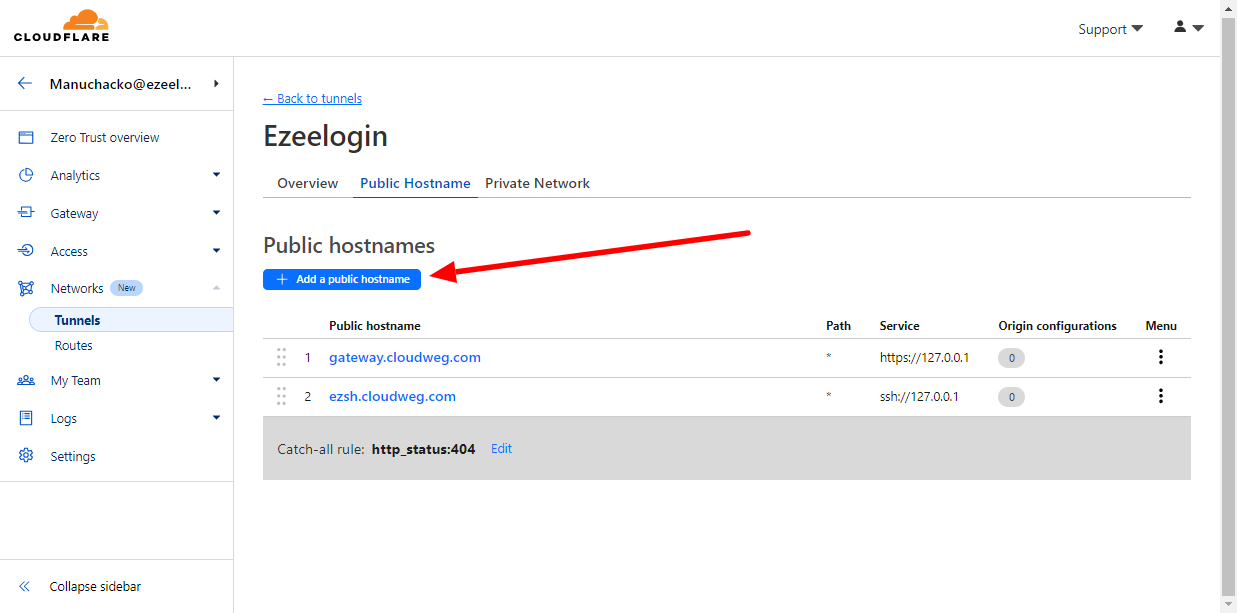
Choose a domain from the drop-down menu and specify any subdomain (for example,ezsh.cloudweg.com).
For Service, select SSH, enter 127.0.0.1 and click save hostname.
2. Connect as a Ezeelogin user from your Terminal via cloudflare Zero Trust Network Access
-
Install Cloudflared on the client machine.
-
Add the following to your SSH configuration file on your machine ~/.ssh/config:
Input the following values; replacing ezsh.cloudweg.com with the hostname you created. Edit vim ~/.ssh/config
The cloudflared path may be different depending on your OS and package manager. For example, if you installed cloudflared on macOS with Homebrew, the path isHost ezsh.cloudweg.comProxyCommand /usr/local/bin/cloudflared access ssh --hostname %h/opt/homebrew/bin/cloudflared -
You can now test the connection by running a command to acess Ezeelogin shell via zero trust network access(ZTNA). Replace ezsh.cloudweg.com with the hostname you created.
ssh <ezeelogin_username>@ezsh.cloudweg.com